Amazon S3 : Demo For Beginners

In this blog, you are going to learn:
How to create an S3 bucket?
How to add objects to your bucket?
How to share some of those objects with others?
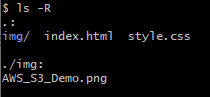
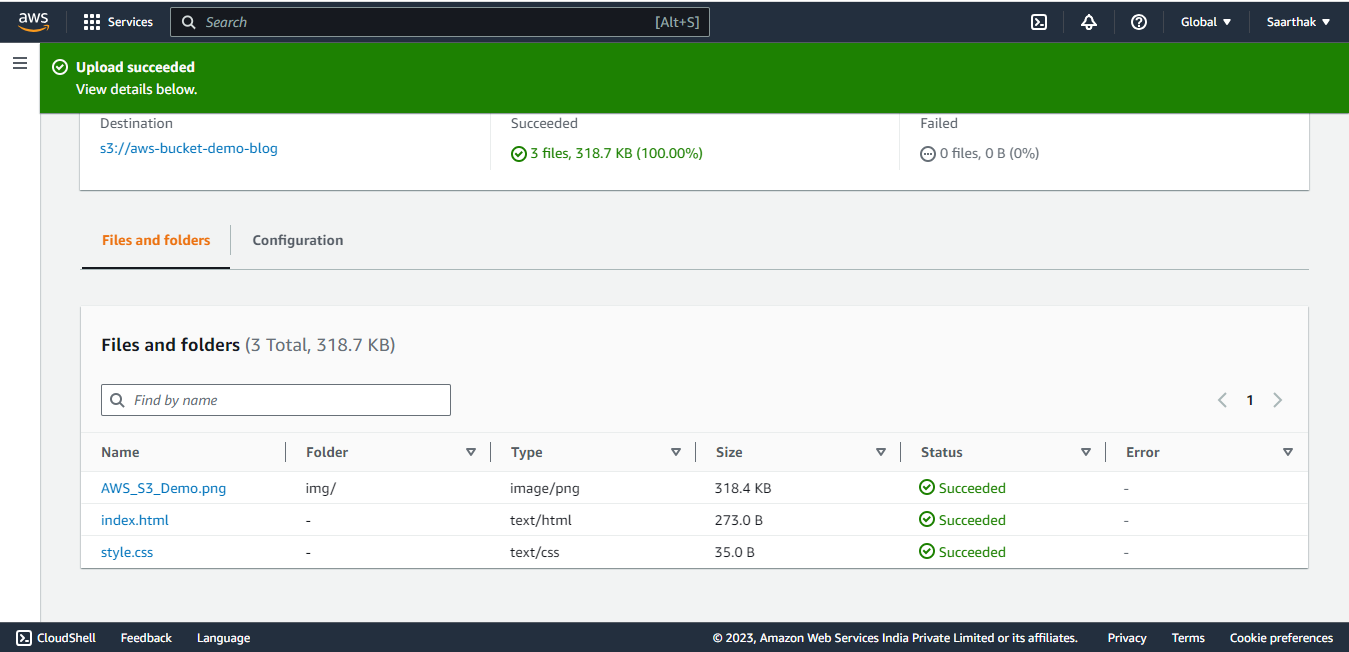
Files Uploaded
Structure :
index.html
<!DOCTYPE html>
<html lang="en">
<head>
<title>S3 Bucket</title>
<link rel="stylesheet" href="style.css">
</head>
<body>
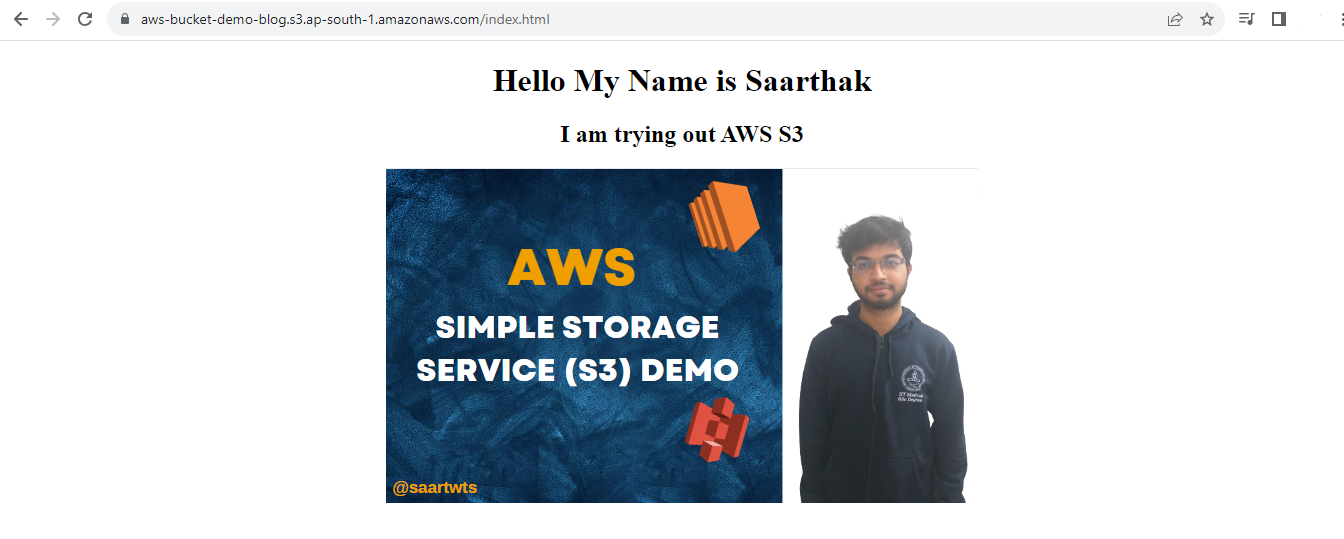
<h1>Hello My Name is Saarthak</h1>
<h2>I am trying out AWS S3</h2>
<img src="img/AWS_S3_Demo.png" alt="">
</body>
</html>
body{
    text-align: center;
}
Steps :
- Open your AWS Account

- Type "S3" in the Search bar and click the "S3: Scalable Storage in the Cloud" option to reach the S3 Console

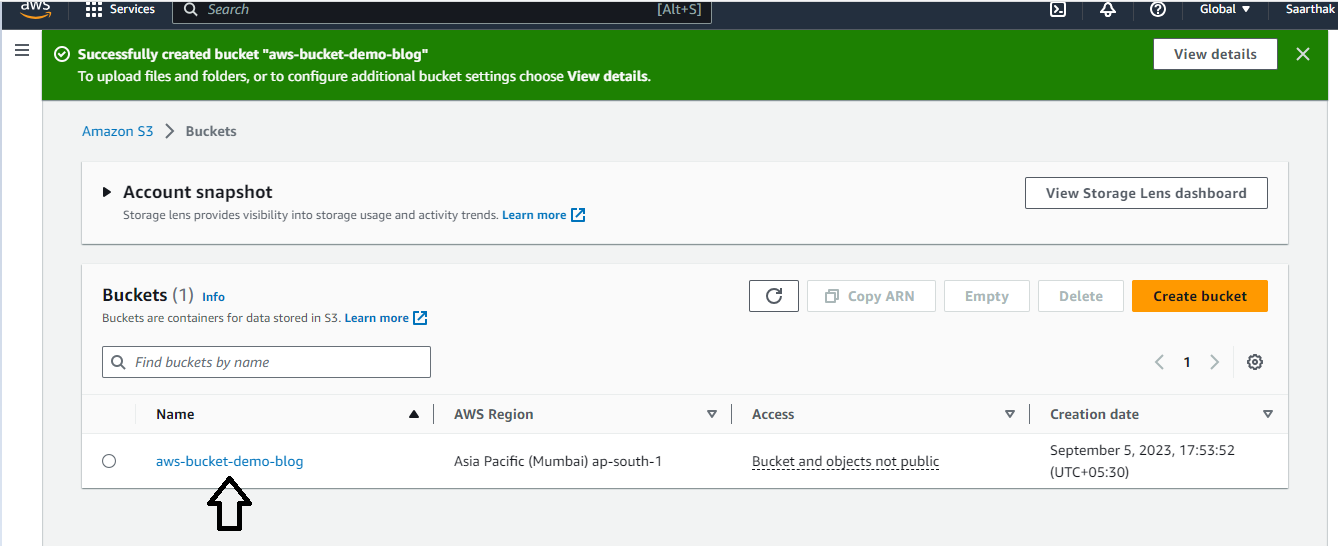
- To create a bucket, you need to choose the "Create Bucket" option

- Enter a unique bucket name and your desired AWS Region.
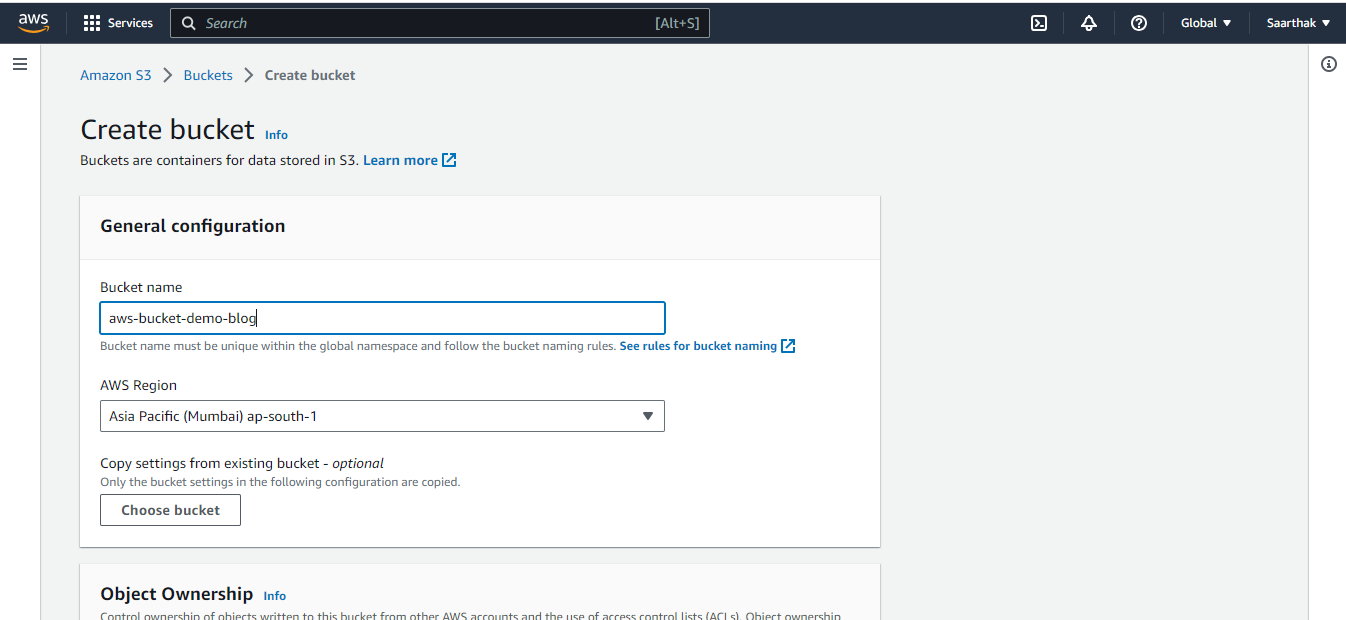
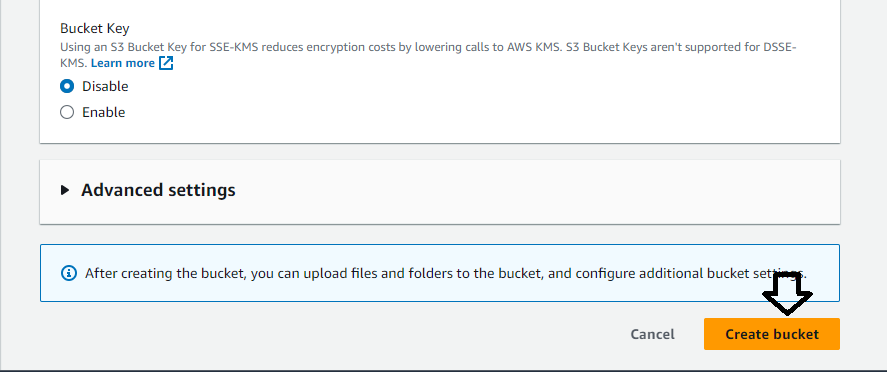
Set "Bucket Versioning" and "Default Encryption" to be disabled and let the rest of the settings remain in their default configuration
Click on "Create Bucket"
Our Bucket is now ready!
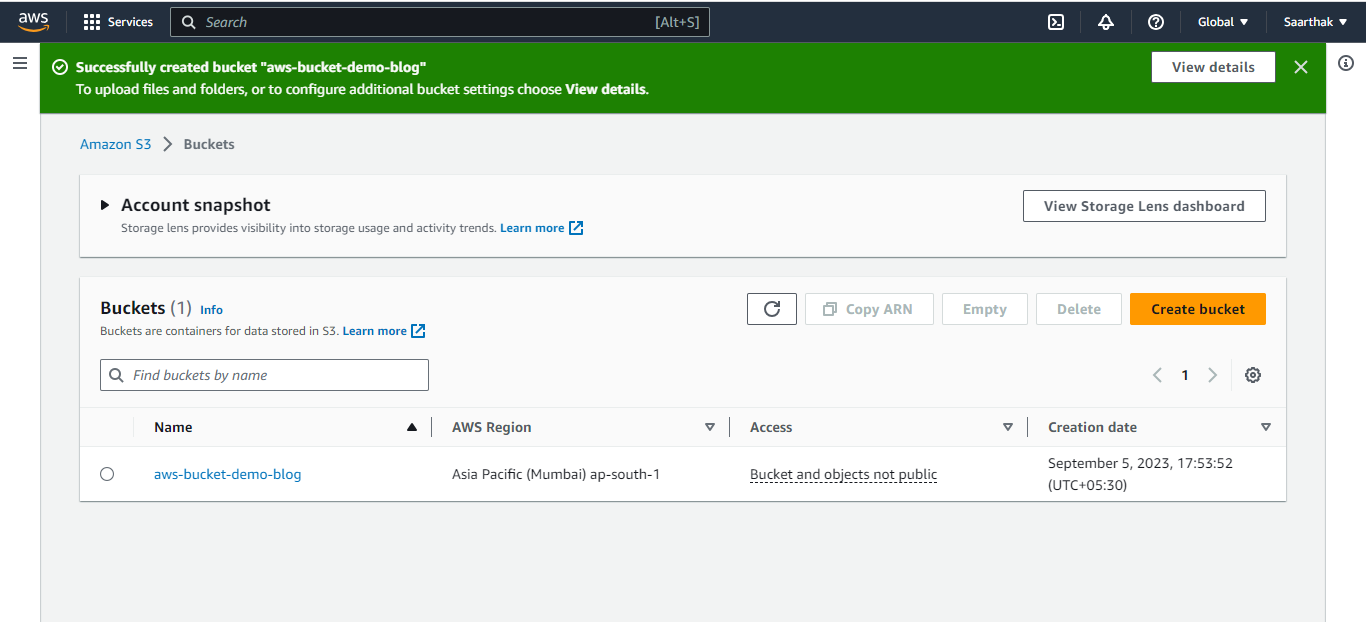
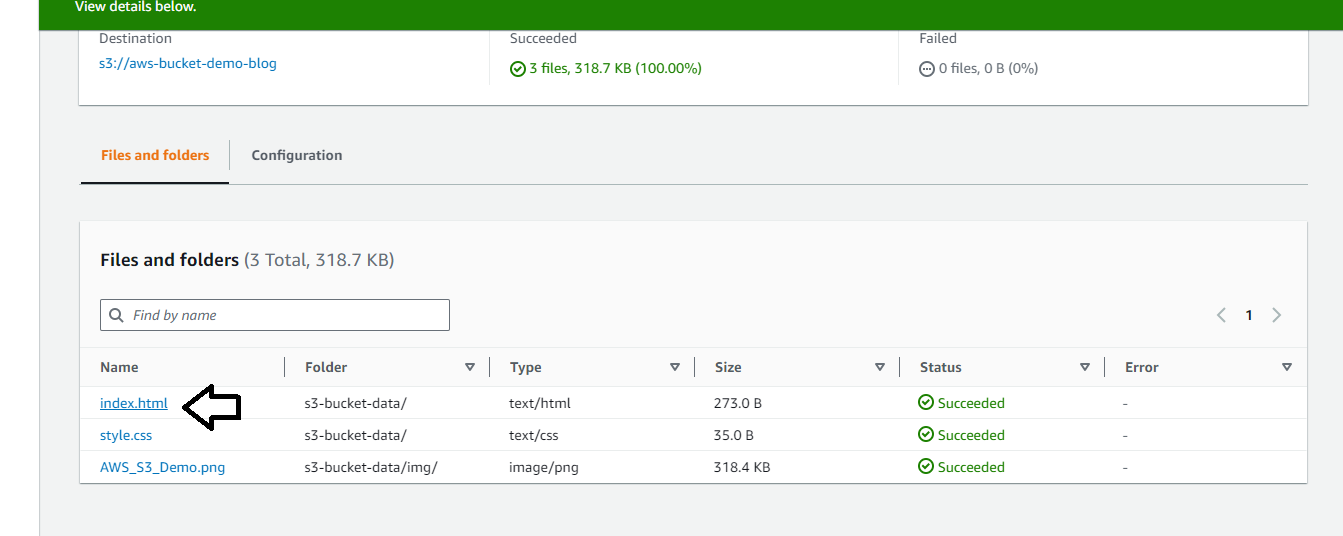
Now, to upload files to the backend, we would navigate to the bucket, by simply clicking on the bucket name
- Click the "Upload" button

- Click on "Add Files" or "Add Folders" to add your desired files and folders


After you upload your files to the S3 bucket, you should see an interface similar to the one given below.

- Click on "index.html" to view it
- After clicking on the "Object URL", you might get the following error. This is because, we checked the option "Block all public access"

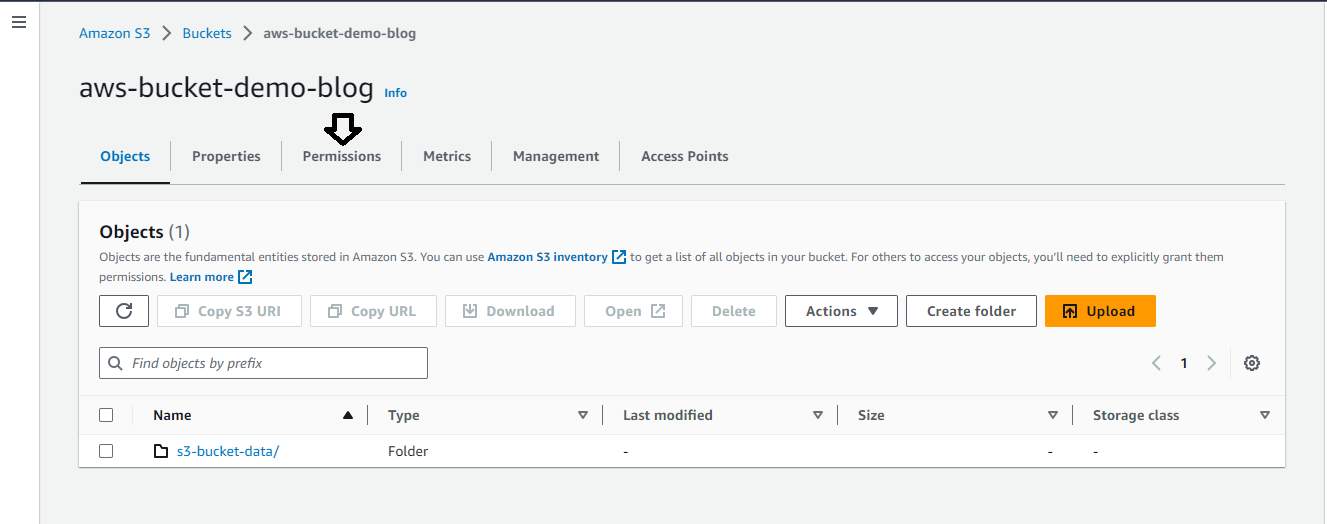
- To share your files with friends and colleagues, choose the bucket name and select "Permissions"
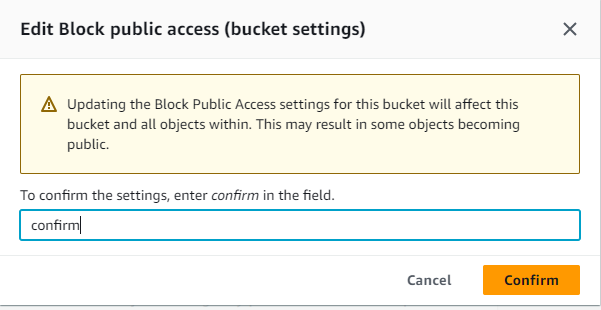
- Click on "Edit" to edit "Block Public Access Settings"

- Uncheck the "Block all public access" option

- Add a Bucket Policy by clicking on the "Edit Button" to give access to some files present in the S3 bucket.
NOTE:
Replace the name of your bucket in place of "aws-bucket-demo-blog" in the given configuration

- Click on "Save Changes"
- Now, when you try to access your file, you would be able to do so...
Conclusion
In this blog post, we have shown you how to create an S3 bucket, add objects to your bucket
That's it for now. Did you like this blog? Please let me know.
You can Buy Me a Coffee if you want to and please don't forget to follow me on Youtube, Twitter, and LinkedIn also.
Happy Learning!


